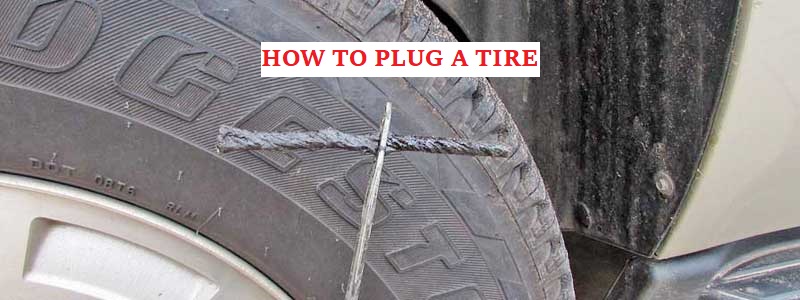
How to Plug a Tire – Step by Step Guide
If you are facing trouble with your tires, then you need a guide on how to plug them. Whether it’s a small hole, flat tire, or anything for the fact you need to follow easy and efficient steps to repair them.
If you don’t know how to patch them yourself, then it can get really expensive or you to get them fixed by a car professional. It is better to repair it on your own with a plug that only requires costs on the tools you will need to get.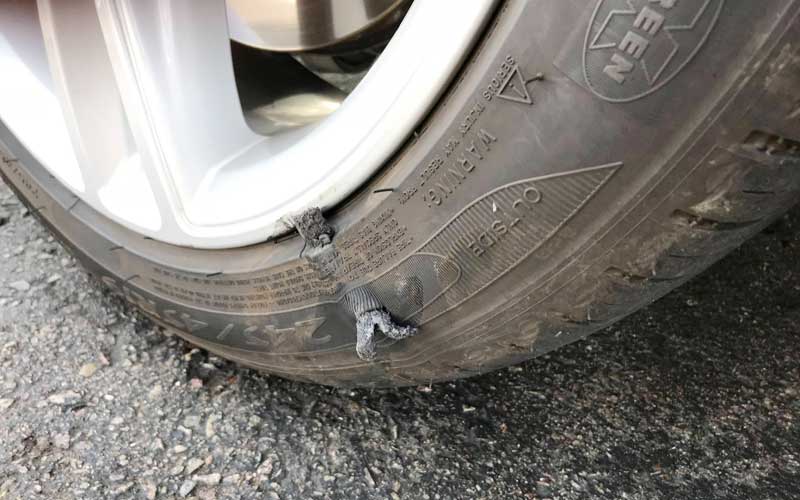
Repairs that can be carried out by the plug kit
A proper tire plugging kit can fix almost any punctures and holes created in the tires. As all standard cars are tubeless these days, that is more advantageous because the plugging kit can fix a tubeless tire easily.
Leaks caused by staples, wire, or anything that can cause holes of small sizes can be fixed.
How to plug a tire by removing it
Prepare yourself with the right tools
To plug in a tire and successfully complete the task, you will need these tools to achieve the goal: a tire plug kit, impact wrench and socket, torque wrench, air chock, a vehicle jack, valve stem tool, razor blade, and pliers.
Remove the tire
To complete this job you will need to first open your car manual and use spare tire and tools that mostly all vehicles have already.

You have to carry out procedure in a quiet and safe place so a garage will do the job. As the noise of the traffic can make it hard for you to focus.
Locate the leaking point
Mostly the punctured hole or the leaking point is quite visible and doesn’t need to be found.
This way, the process can be moved along quicker, but if you need to find it and it is somewhat invisible, then you will have to carry out a DIY test by employing a bit of soapy water in a spray bottle and use it on the tire.
Eventually, there will be a place where you will see a spot where the bubbles are prominent; that is the leaking point. Once you find the puncturing source (screw or nail), then remove it by using pliers and discard it.
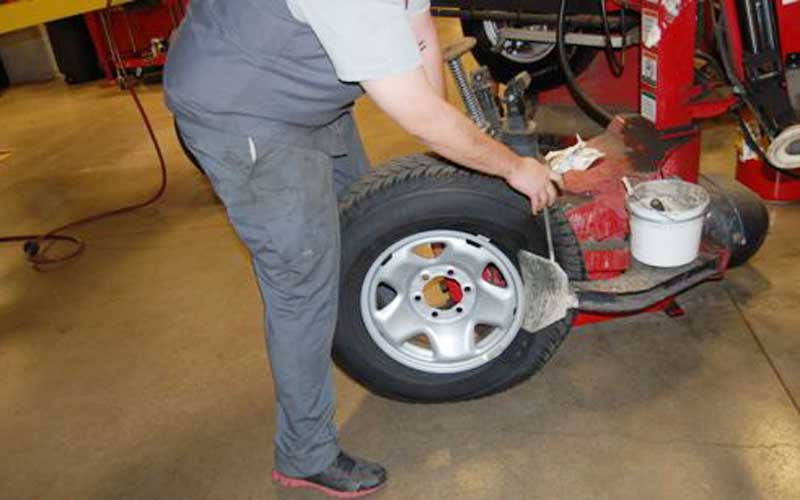
Ream out the hole
In the tire plug kit that you got, you will find a tool that comes with a handle and round file type appearance. This tool functions to ream out and clean the hole in the tire prior to the plugging process.
Take this tool and directly ram it into the hole, then hoist it up and down to roughen the insides up. A few pumps of the tool will carry out the most important part of plugging a tire.
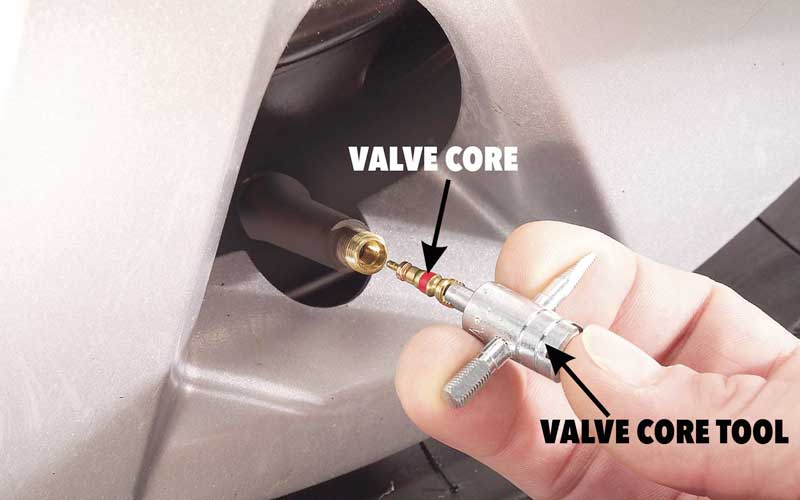
Remove the valve stem core
This tool functions to deflate the tire. This way, the tire will accept the plug inside it and make it easier for you to carry out the rest of the process.
But you have to be careful about not letting the valve stem get loose as the tire will not let the air stay inside it then.
Thread the plug tool
For the next step, you need to open the tire repair kit. It will contain some sticky tar “worms.”
You will have to peel one of them off and thread it through the tool that will be having an eye on it like a hole on a giant needle.
To do that, you will pinch the end of the needle to get in. But this process can be done if focused properly. Pull the thread through swiftly until it comes in the center of the plugging tool.
Plug the hole
The main part of the process is here. With the worm threaded into the plugging tool, you can stick the end of the tool into the tire’s hole.
Once it gets inside a little bit, you will start applying pressure on it so that the tool and plug have sunken in. Now push it further in so only half-inch of the tool is visible outside.
Now take the plugging tool out in one move; this will let the plug remain inside where it should be if you want to, then you can also trim out the plug to close the tire.
Fill the tire with air
Now is the time to fill the tire with air as it was deflated earlier to plug the tool in. Fill your tire with the right amount of air pressure and remount it as well.
If you haven’t done any maintenance in a while for your tire, do that as well. Get them rotated and balanced out as it will extend the life of your tires and save some of your hard-earned money.
Reinstall your tires
Now you will use some really important tools in your repair kit to reinstall the tires back. You will use the socket, hand thread, and lugs on the tire as far as you can.
This will prevent your tires from cross-threaded studs, which will also make it impossible to install or remove tire in the near future.
Once you get the lugs hand tightened, you will use the air chock connected to the airline of the tires and fill the tire with rated pressure. Now remove the car jack and place the car back on the pavement with care.
Lastly, you will use the torque wrench to tighten up the lug nuts to the specifications rated by the manufacturer.
Safety checks
When the plug is inside, make sure that you do let half an inch of the plug out so you can pull it out anytime.
As it can be really dangerous if you cut it out later on. You will also have to recheck if the hole is closed completely by spraying the soapy water again on the tire.
You can check the air pressure this way too. Also, take a test drive around your street. This way, the plug will get into position and tightened up too.
- Plugging your tire without removing it
- Steps that will be carried out in order to remove the tire without removing it are:
- Find the leak caused by the specific object (nail or screw etc.)
- Prepare the tire plug with the tools needed.
- Prep the leak with the reaming tool mentioned earlier.
- Install the tire plug and carry out checks and balances.
- Repairing a tire is not a complicated job, even if you are mechanically inclined or not.
If you have never installed a plugin a tire before and you feel you are not strong enough for the job, then you are thinking wrong because anyone can do it whether you are a male or female.
It just requires you to have arm strength in a good amount for the final step of plugging. You will plug your tire then without removing it. The repair kit should be ready and assembled in time. It also doesn’t cost as much as a few dollars and gives you the usage of up to 5-6 times.
Also, carry tire grease with your kit as it aids in installing the plug through the rubber surface without causing any sorts of friction or resistance.
Read Also: How to Read Car Tire Size
Benefits of using plugs
Some advantages of using plugs to repair your tires are:
Carry out the job quickly as it literally takes minutes to install in the tires.
They are reliable in usage and not run out for a long time.
If you are getting it done from a professional, it will literally cost as little as 2-5 pounds if done by a local mechanic, obviously. So it is a pocket-friendly way of getting your tires repaired too if you are carefully choosing the service providers.
It doesn’t need many tools.
It has literally two ways to get plugs in the tires by removing the tires and also by not removing it.
When the car runs, the plug melts into the tire, making it one piece, and that is really efficient in the long term and makes all holes filled up permanently.
Conclusion
So here is the pack of information you need. A step by step guide on how to plugging your tires. This guide can help you prepare the best tire plugging kit and gives away important steps and tips, as well.
If you are living in a place where there are hard rocks around the area, or it is near the industrial planes, then you might get tire punctures often. This is why you need to know how to plug your tires on your own.
It is also important to periodically check if the tire plug remains tightened up in your tire at all times.
Share this content:


Post Comment