How to Fix Car Scratches On Your Own (Do it Yourself)
Car scratches, chips, and imperfections cannot be avoided. But it is a very careful and focused job to do, especially if you are not hiring a professional and fixing it on your own. Options of fixing car scratches on your own range from simple to advance steps and treatments.
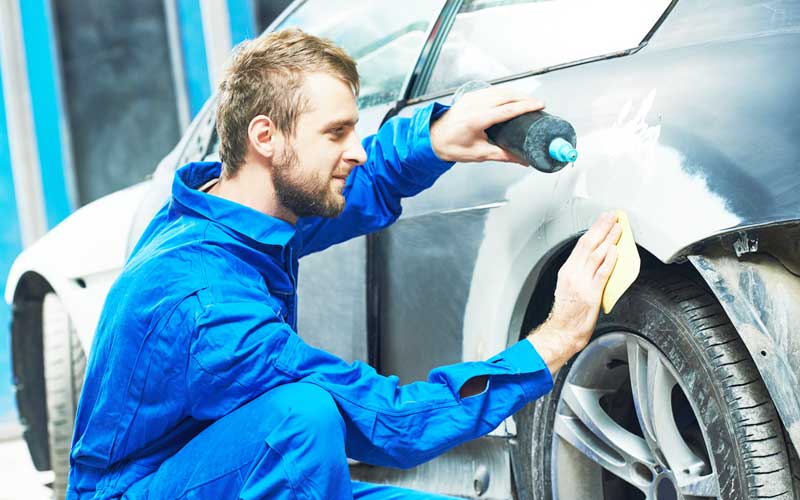
Car scratches can be so small that only you can notice them, but it is a fact that a small scratch can lead to rusting, which can cause serious damage to the car paint. The correct action is to repair the smallest scratch even if it’s invisible. So never ignore your car scratches and indulge yourself in the maintenance of your car’s exterior.
Types of car scratches:
Clearcoat scratches
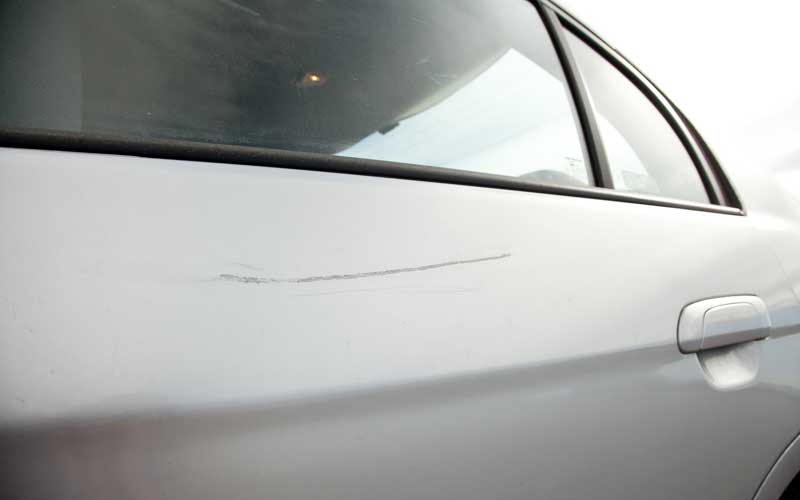
These types of car scratches are the basic ones. The top layer of the car’s paint is where a clear coat is applied mostly. If you get a scratch right on the surface where the clear coat is present, then the scratch can be easily fixed.
You can be assured to know that a clear coat scratch doesn’t damage the paint and doesn’t need a touch-up paint either. But it should be fixed before it gets seriously damaging.
Paint scratches
These are the most serious scratches for a car. When the paint is scratched, you can clearly see the metal, and it is a sign that the scratch is deep enough to cause trouble to the exterior immensely. This is the most difficult to fix and can cause further serious damage to the whole exterior of the car.
Primer scratches
This occurs directly beneath the clear coat. Primer has the responsibility to keep the car paint clean and crisp. This primer scratch can cause trouble to the paint of your car, its whole outer look, and smooth surface as well.
Common causes of car scratches:
- Improper washing.
- Dirt and debris.
- Car accidents.
- Jewelry or car keys rubbed in.
- Tools you need to fix your car scratches:
- Disposable buffer pads
- Disposable sandpaper
- Rubber block
- Polishing compound
- Car cleaning solution
- Primer
- Automotive soap
- Scratch removal product
- Car wax
- Car rags
- Spray bottle
- Water
- Car paint (matched properly)
- High-quality car repair kit
Steps to fix your car scratches
No matter what kind of car you own. You can always get car scratches of any type, as well. No one can ever dream of being okay about their car not to look smooth and shiny.
Car scratches can be frustrating as you can see them every day and get insecure about what others think. There can be many causes for them to occur, but there are more solutions to it then you think. Here are some steps for you to fix your car on your own:
Step 1: Prepare to repair car scratches
Assess the depth of the scratch. Observe that if it is a primer scratch, clear coat or paint scratch. Look for signs and see the severity of the scratch. Get the right tools for the specific scratch type then.
Step 2: Purchase the correct car painting tools
The touch-up paint, preferably automotive, is hard to find for a car that is not basic in color. But if you have a black or white car, you can easily get touch-up paint.
You can use a trick to get the best paint for your car by using the paint code of your car mentioned in the car manual. This way, the replacement paint is easy to be searched. Once you get the code, you can get the paint and not worry about the paint match.
Step 3: Clean the scratch
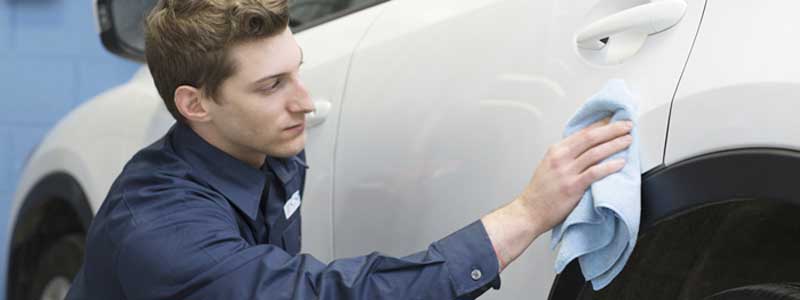
Use an automotive soap to clean the area around the scratch to get a clear sight of it. Use water to wash the soap. You have to make sure that there is no debris sticking onto the scratch or even the slightest dust to it.
Once you are done the cleaning, you can rinse it off and wipe clean. You have to wait after rinsing it so the scratch can dry off.
Step 4: Remove the rust (if any)
To remove any rust on the scratch or around its areas, you can use 120 grit sandpaper to remove any rust that the paint or metal can develop. But you have to do it with careful and gentle hands, so you don’t damage the paint instead.
You need to remove all rust before getting on the next step of fixing the scratch. Otherwise, the rust can continue damaging the paint and spread.
If the paint and metal get damaged deeply, then all of it will have to be repaired, which costs more time and money.
Step 5: Choose the right conditions to repair it
Do not touch up the scratches under daylight. You should do the work in a garage or a shadier place where the scratch is protected from sunlight while it is still sensitive.
Step 6: Apply primer
Then you will come onto the next step and apply automotive primer. Mostly scratches have penetrated all paint layers down to the metal. For that, after preparing the scratch, you need to apply primer to keep it in place and locked. It also provides a good surface to apply paint on the scratch.
Step 7: Apply paint coat
First of all, let the primer dry deeply into the metal. Then take the paint that you matched with your vehicle and apply a layer over the primer area. If the scratch is small, then a thin layer will be fine, but if the scratch is deep, then you need to apply a thick coat.
If you dab the paint onto the scratch, it will create a better finish. Most paints do not require more coats, but you have to see that according to the type of car scratch you have.
Step 8: Apply Clearcoat
Now when the primer and paint dry out. It is time for you to apply a clear coat of dry paint. Clearcoat dry paints come in spray bottles, and if you apply them, then you need to prevent over-spraying as it can cause the texture to look uneven. Also, don’t forget to dab the area with a clean rag to ensure the texture is smooth.
Step 9: Make the area shine
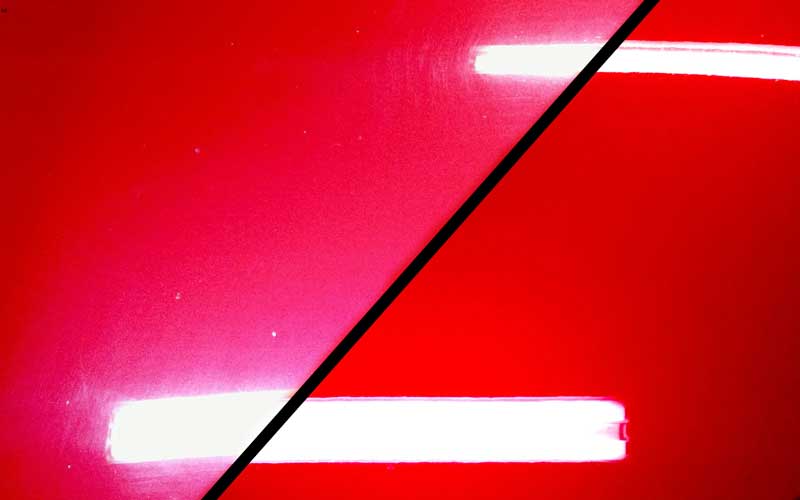
Apply a polishing compound to the area after the dry paint has dried down. You should opt for a more high-quality polish or car wax to ensure long-lasting shine and smoothness for the area where the scratch was present.
It will make it look invisible completely.
The polish will create a more professional finish and reveal the beautiful paint.
Step 10: Wash the car
Last but not least, wash the car using a bucket of water mixed with car cleaning soap or solution. Once the process is done, rinse the car and wipes it clean with a towel or foam. Apply a wax, so the entire vehicle looks balance and free of car scratches.
A protective clear coat can be damaged because of all the fixing of the scratch, so wax application is necessary for the overall balancing of the car surface.
Step 11: Quick fix
You can always use a shortcut at removing car scratches, which are small and basic ones (not deep enough). By using a quick fix product. Without using car paint and going through all that long procedure, you can simply prep the scratch by cleaning it and apply a paint pen or car scratch removal tool.
You can easily improve the situation by doing so. High-quality car scratch removal paint pens can be easily found in a car repair kit or individually at hardware shops.
Step 12: The Finishing touch
Don’t forget to finish the process of with a touch of primer spray again to fix everything into place.
Then wipe clean and let the car dry out in the sun now. Don’t leave it in the dark garage or shade. The car will take a whole day to dry out and rest. Then you will see no scratch afterward.
This is the best way to get rid of all the bad textures if you face any. Professionals can prevent mistakes in repairing car scratches, but when you are doing them on your own, the last resulting step is most important. It will keep the exterior to last long and age slowly.
Conclusion
So here is a complete guide of how you can fix your car on your own. These simple steps can be done using very simple tools that are mentioned above.
Fixing your car scratches is really important, and if you are looking for useful information, then this is it. From types of car scratches to causes and to all steps of fixing a scratch, you can find it all in this simple guide.
So give it a read and first of all, prepare yourself to learn which kind of car scratch you are facing. Then carry on with fixing it using these steps. Ignorance of simple chips and scratches leads to bigger and more expensive problems, so avoid them.
Share this content:



Post Comment