How to Use Head Gasket Sealer – Step by Step Process
So what is your reaction when you realize your head gasket had been leaking? I reckon it must be not like that of a child when he receives a penny in exchange for the tooth under his pillow.
After receiving this not-so-deadly, yet bothersome news, you must be compelled to take it to a professional for repair.
What if I let you in on the glorious methods of fixing the head gasket yourself? A head gasket sealer will be a decent solution to your predicament!
How to tell if your head gasket is leaking?
1. Check underneath the oil filler cap
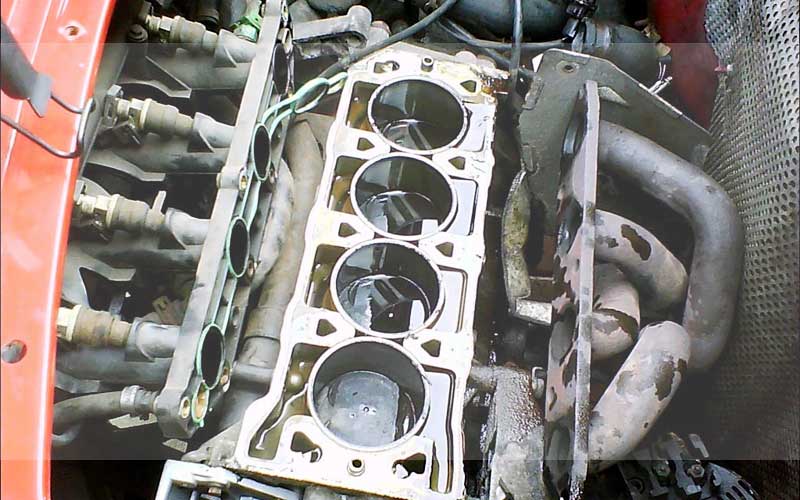
The first thing you have to do if you want to confirm a head gasket leak is to check for the “mayonnaise” layer under the oil filler cap.
The reason it is called “mayonnaise’ is because it is creamy, and white in color, thus resembling the condiment.
However, if the white build-up is not present, it does not indicate the total absence of the leakage in the head gasket.
2. Is the smoke from the exhaust white?
After the head gasket begins to leak, the coolant seeps into the air and fuel mixture. This causes the coolant to burn with them.
When the coolant products are burning, the exhaust will be of a different color. It will be grey, or white, instead of the usual dark color.
The stronger the leakage in the head gasket, the whiter the exhaust will become.
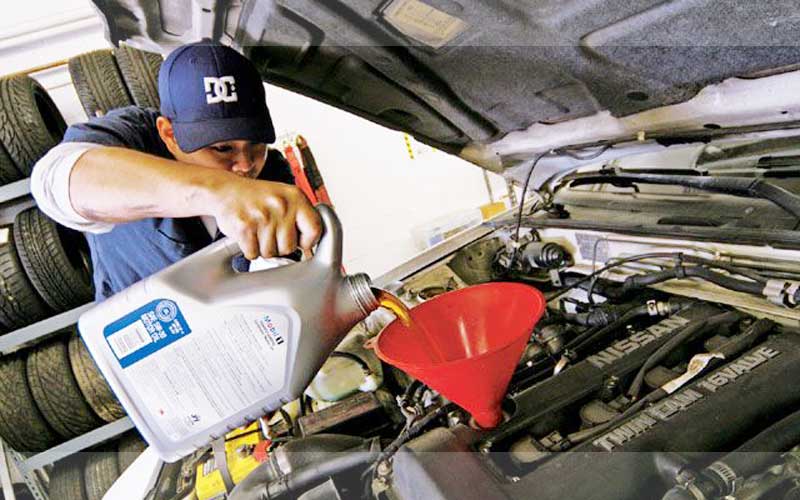
3. Look for the coolant after draining the oil
When you are changing the oil of your car, check to see if any coolant has drained. The leak in the head gasket will allow the coolant to mix with the oil.
The oil and the coolant are of different consistencies. So, they will separate. If you notice any swirls in the oil that are white in color, it is likely coolant leakage.
If you see distinct colors like orange, green, or pink, the leakage is confirmed.
4. Keep an eye out for misfire
A misfire is indicated by unsettling vibration throughout the engine. The cause of this vibration is the coolant not igniting because it is penetrating the cylinders.
If a misfire happens, the check engine light, that is present in your dashboard, is going to come on.
A leaking head gasket will cause the check engine light to come on, along with many other reasons as well.
5. Make use of an OBDII scanner
You can use an OBDII scanner to check what error your engine is going through, once your check engine light comes on.
The error code will indicate the issue being faced by your car. If the code error points out a misfire, that means the head gasket is going bad.
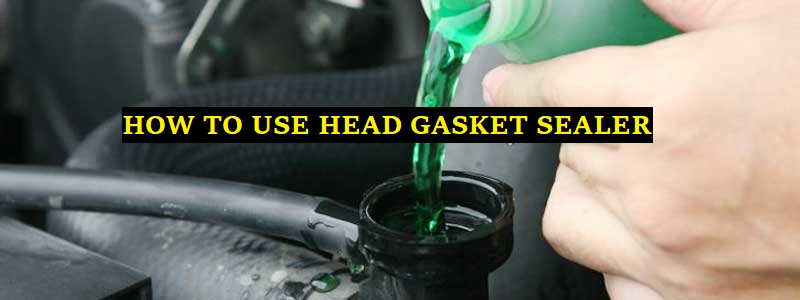
How to use the head gasket sealer
- The first step towards using a head gasket sealer is to jack the vehicle up. Place jack stands underneath the vehicle as well.
- Put any container under the radiator. Refer to the instruction manual to determine the amount of coolant the car will be giving out. The Container that you use must be in relevance with that amount so that it is able to hold all the coolant.
- There is a petcock on the radiator. Open it with the wrench and allow the coolant to flow inside the bucket. Make sure you don’t spill any onto the ground.
- Close the petcock as soon as all the coolant drains out.
- After closing the petcock, fill water into the radiator. Replace the radiator cap if it is damaged or worn out. Check the manual if you cannot find the cap.
- Disconnect the thermostat as you do not want the coolant to engage while you add sealant. The thermostat allows the coolant to pass and cool off with the flow of air.
- Set the heater on high and start your vehicle, after the system has been filled with water. This will help the water circulate through the system and drain the remaining coolant.
- Keep a check on the temperature gauge. If the vehicle overheats, turn it off.
Now, you have to proceed to fill the system with head gasket sealer.
- Open the petcock again, with a wrench, to drain water the same way you drained the coolant earlier.
- Make sure you drain the water into a bucket too as it is contaminated. Drain it completely before you close the petcock.
- During this step, make sure you reconnect the thermostat that you disconnected earlier.
- Make a mixture of water a They both need to be in 50/50 amount. Make sure you choose the coolant best suited to your car.
- Keep adding the coolant in small amounts until it reaches the maximum capacity.
- Open the radiator and pour the head gasket sealer. Refer to the instruction manual of your sealer to follow the instructions specific to it.
- Drive your car around for at least 15 to 20 minutes. Why do you need to do that? Because the sealer will travel through the entire system before reaching the head gasket.
- You can also start the motor and let it run for a while to undertake this step.
- If the vehicle starts overheating, stop the car immediately.
- Stop your car after 15 to 20 minutes have passed.
- Let the car sit for at least a few hours before you proceed to the next step.
- Now, it is time to revaluate if the leakage in your head gasket has been fixed or not. In order to do that, you have to go back to the top.
- The steps that had been mentioned to check for a leak in the head gasket sealer earlier go through all of them again.
- If no issues remain, means your head gasket sealer has been fixed. Most of the times, this process is going to be fairly permanent.
If the leakage still persists, which it probably won’t, the only remaining solution is to replace the head gasket.
Share this content:


Post Comment