How to Remove Clear Coat From Car – Step by Step Guide
If you are a car owner. You must know that a car’s beauty is in its exterior. The car paint is the main part of the exterior, as well.
You should focus on your car paint maintenance, and that is why you need to learn how to remove a clear coat.
A clear coat is a transparent layer of paint that not only protects the colored car paint but also makes it last longer. When its function is starting to fail, you need to remove it by full concentration and proper steps.
Removing clear coat by yourself
To remove the clear coat from your car at home or by yourself anywhere. You need first to gather the tools and equipment required for the procedure.
Every tool is worth investing in, as these materials will help you fix your clear coat and help in other car exterior procedures as well. Get high-quality products and maintain a car tool kit.
Here is a list of tools you will need and what their purposes are:
A buffing compound/clearcoat remover
To get the clear coat off, you will need to use a buffing compound.
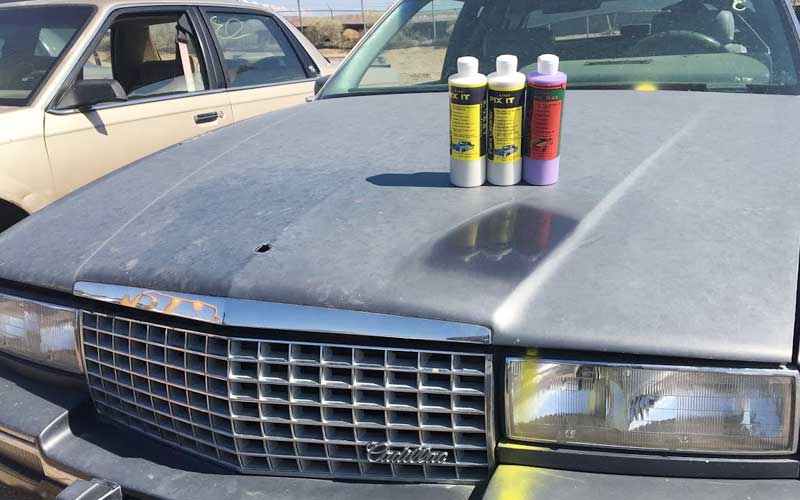
It needs to be handled with care as it has some hard chemicals in it that can damage the paint instead of just taking it off. You have to see the hardness of paint in order to remove it with the buffing compound.
Buffing pads
These pads are made up of 100% wool concentration and are really important in working on the compound as they can hold up to as much product you want. It does not budge like a towel etc. they are more efficient in material removal.
Electric polisher
By using an electric polishing device, you get the work done sooner, and also it will take lesser strength of yours. Because manual polishing by hand is really hard and can take all your energies away.
Finishing polish
High-quality finishing polishes for the procedure are necessary so it can last longer and make efficient changes. These polishes are great for weekly car maintenance purposes, as well.
Sandpaper
Sanding is a very important part of the process, so you will need to find a good one. But these are really affordable and good quality and great for buffing purposes.
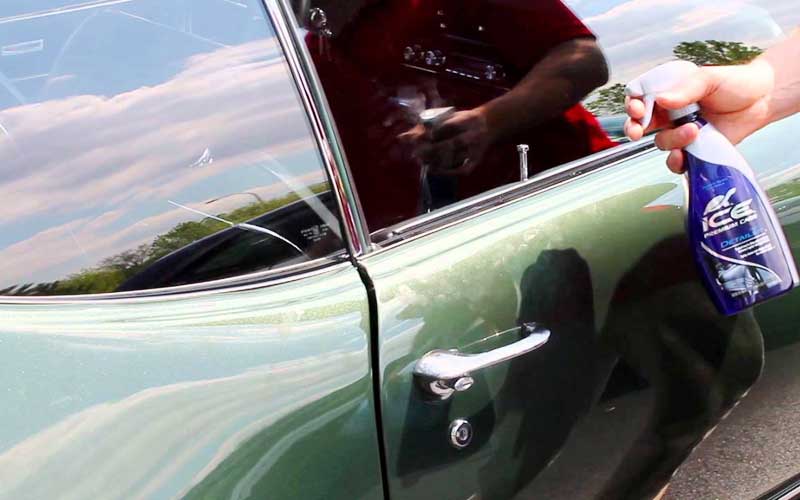
Spray detailer
A quick wax spray detailer is also part of the process. They elevate shine and remove all harmful substances from the surface.
Cleaning and prepping of the car surface is an essential step that requires a good quality spray detailer.
Wax
Wax is an exceptional product when it comes to using it on a car’s surface. Its results are just awesome, and waxing is a requirement for every procedure for a car’s exterior.
Never sacrifice on the quality of the wax for long-lasting results.
Clean cloth
Any clean and soft microfiber cloth will work for the process. You can also use a wool pad or foam. These are really cheap and readily available in markets.
The procedure
Here are the required steps for clear coat removal by yourself:
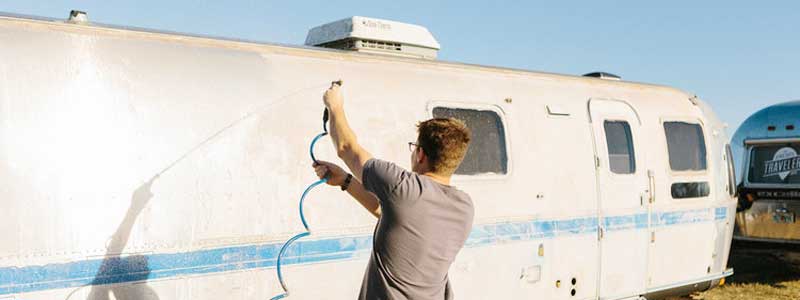
Prepare your car
This is an essential step for your car while you carry on with removing the clear coat off of it. Make sure the whole car is clean and effected car areas are also neat. No debris or dirt should be present while you start applying all types of products on it.
Rinse with a garden hose. Dry the area thoroughly, and don’t leave out any car when doing so.

Also, be careful not to create any scratches while you wash and clean your car. The paint is really fragile when the clear coat is losing its function.
Wet sand the clear coat
Now you need to start off with the next step. Using a 400 grit sandpaper even out the scratch. With finer grit, sanding smoother out the surface even further, so there is a neat canvas for the rest of the procedure.
Go about 1 inch away from scratch using the sandpaper. You need to prepare yourself for all this process and take out time for it. This procedure cannot be done in a hurry.
Continued wet sanding in advanced mode
Introduce finer grit sandpaper and begin outside the 400-grit perimeter to be safe. Get the surface finer for even finish. You can apply a little force with the wet sanding.
Now move up to 1200 grit sandpaper. You will see that the surface is really smooth and shiny in the end.
Prepare the delicate areas
Now when you are done with the sanding of the surface. It is time to prepare the delicate and sensitive areas of the car’s surface. Tape down surfaces such as the car handles and mirrors etc.
Prepare the sandpaper for dry sanding
Now it is time to use dry sandpaper. You are done with the wet sanding. You can begin with a 6-800 grit sandpaper. You can go for finer grit paper throughout the process when the surface starts to get smoother.
If you see the surface drying out, then you can spray the clear coat remover and continue sanding.
Look out for sanding patters
Whilst the dry sanding, you need to take care of the pattern in which you are sanding. Sand at 45-degree angles or how the wind would flow over your car. The direction of sanding is really important.
You need to get an even tone, not something random. To achieve the goal, be cautious.
Read Also: How to Plug a Tire – Step by Step Guide
Dry out the car
Now when the car has been sanded, both wet and dry. Rinse it off and put it in the sunlight to dry out. While rinsing does make sure that you are sanding and rinsing at the same time but stop if you see the water getting thick and milky. Otherwise, it can damage your car.
Finish off with grit paper
After rinsing and drying the car out, it is time to give it a touch-up. For that, you need to apply fine grit paper all over the surface to even out any bumps or any appearance of coarseness.
Buffing with polish
Using an electric polishing buffer, you can do the job easily. For that, do make sure the electric buffer is at an RPM of 1200-1400. Now buff the sanded region.
For this, you will follow cyclic motions that, ,too, in a proper way. Make your way through until the polish is evenly spread.
Buffing with compound
Using a wool pad that was mentioned in the required tools earlier. You will start buffing with the buffing compound.
The compound needs to be buffed carefully as it can burn the paint if used carelessly. Also, you can make sure its solution is safe and mild for usage by applying it on a spare part.
The scratches should be long gone, but still, you need to give a finishing touch up by using a softer buffing wool pad and with the finishing polish on.
Using a higher RPM on the electric buffer even out the polish immanently.
Read Also: Unbalanced Tires Symptoms and How to Fix it
Apply spray detailer and finish off
Apply a spray detailer to get a good shiny, and clean spot on the car. Never skip waxing in any car exterior procedure as it gives a much-evened tone to it.
Tips
- Clearcoat removers can be applied with spray bottles at it is easier to apply with them, but it will be a careful job to do because the excess product can be spritzed all over the other surfaces.
- Carry out this procedure in a garage or any shaded area to prevent the clear coat remover from frying out.
- For some stuck on a clear coat, you might need to apply more coats for proper removal. Buff the areas with a scuff pad when this happens while the remover is still present on the surface.
- The clear coat remover can also get rid of the paint, so make sure it is not applied all over the paint. Remove the car part you are working on so the remover doesn’t go to the other surfaces.
- Avoid working on high humidity days.
- Whilst buffing does not keep the buffer on a single spot for too long as it will rotate super-fast when functioning and damage the region.
Final Thoughts
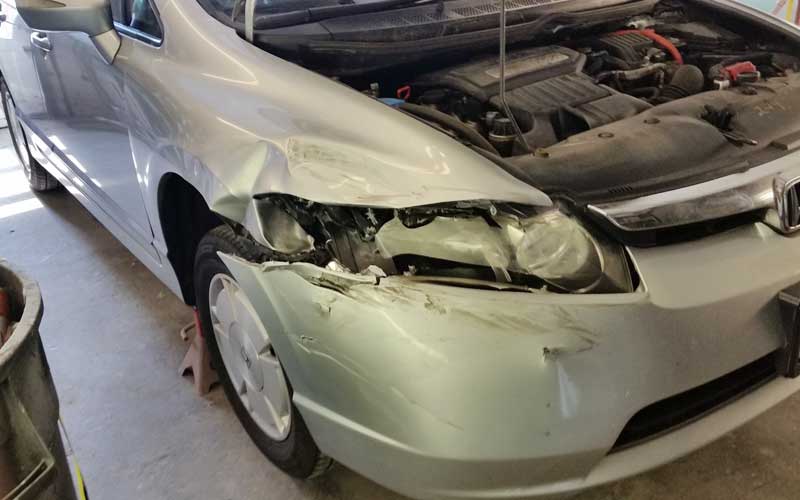
The paint is a protection to the exterior of the car. If you notice any scratches or cracks, then never leave them unattended.
Small cracks and scratches can lead to bigger, more permanent issues. Deep scratches lead to greater damages, so a clear coat should be removed, and that will repair any minor damage.
This simple guide will help you remove a clear coat simply at home by yourself and give a solution to all your problems regarding the car exterior.
Do get high-quality products for the buffing and polishing as it requires a good investment to repair the damages and removal of clear coat efficiently.
Share this content:


Post Comment