How to Fix Scratched Glass with Coating – Step by Step Process
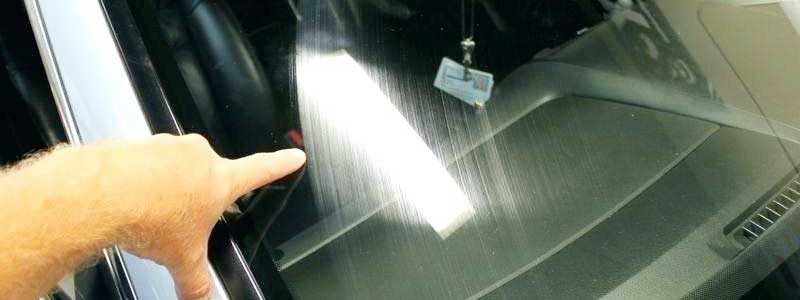
We often find slight scratches on our windshield and other glasses. Well, having a slight scratch is not an issue, but once these scratches get deep and visible, then it becomes a problem that needs to be solved.
Minor scratches can be fixed at home but deep scratches need a professional to get it fixed.
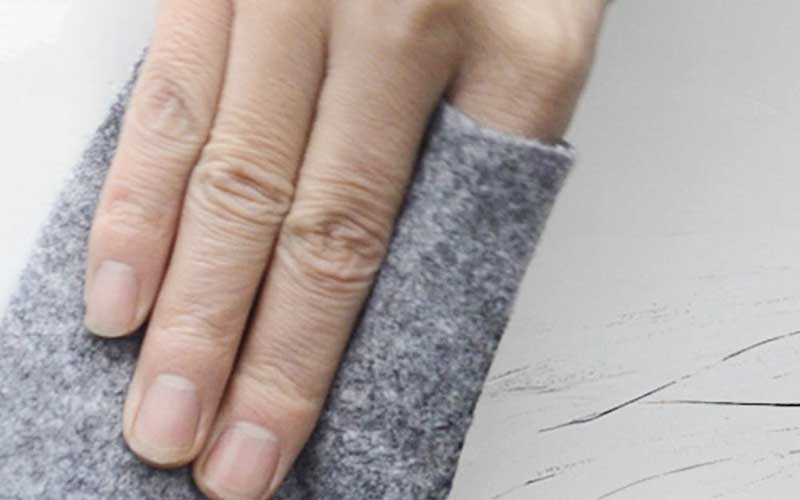
In this article we will talk about DIY methods you can do at home to fix your scratches with easily available supplies.
Having a scratch on the windshield of the car is very common because usually, we are not that much care. If it has a shallow scratch, then you must read this article carefully, here is the step by step method to repair your auto glass.
Step by step DIY method for auto glass repair
1. Check the depth
The first step is to check the depth of the scratch, so you know how to fix it because not all scratches are fixed in the same way.
You can check the scratch with your fingernail, but keep in mind that these methods are just for minor scratches. You can feel the scratch as you move your fingernail on it.
2. Gather supplies
For shallow scratches, here are the basic supplies you need to get it fixed. Though some of them are additional, these supplies will make your repair work much easier.
- Water
- Glass cleaner
- Soft cloths
- Repair kit
- Spatula
- Small bowls
- Dry erase marker or tape
- Drill with rubber polishing wheel
- Clear acrylic nail polish that only works on the shallowest scratch
- Cerium oxide also works for most minor scratches
- Baking soda and toothpaste are good to remove scratches
3. Clean the scratch
Before applying anything; you need to clean the scratch carefully so that there is no dust particle on it that might interfere during your process.
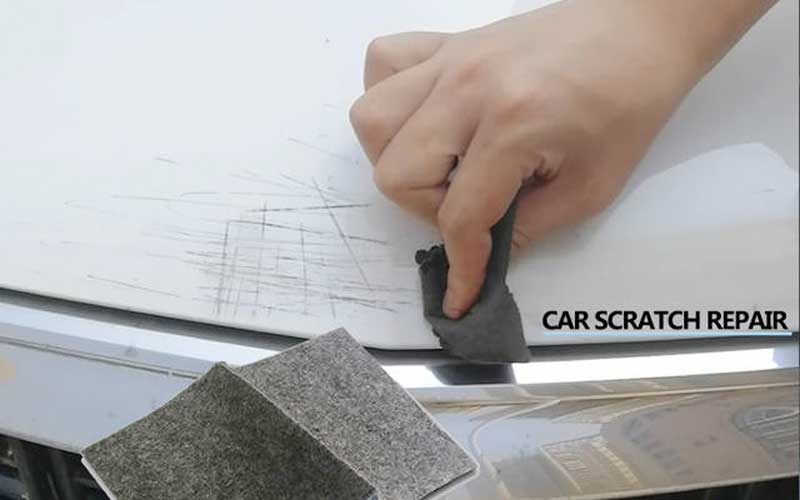
You can use a glass cleaner and a soft cloth for that purpose. Cleaning the whole glass won’t be of much use, because you might get your fingerprints on it, so focus on cleaning the scratch only.
4. Mark the scratched area
You should always mark the scratched area before working because as you continue to progress, the scratch disappears, and you wouldn’t know where to work.
The easiest way to do is to use a dry erase marker to make a circle around the area you want to work, or you can also use a tape to mark the area and take it off once you are done.
5. Prepare the repaired product
Originally there are many products to work with, but the most used products are acrylic, cerium oxide, or baking soda. The preparations for each product vary slightly, and it depends on the product you are using.
For acrylic products, you don’t need to prepare the repaired product; just apply it as it is.
For cerium oxide, you need a spatula to mix the powder with water in some container to make a slurry of a nice consistency. Keep the additional water with you in case the slurry begins to dry.
For baking soda or toothpaste, use one teaspoon of baking soda and a quarter of standard toothpaste tubes. Mix them together with water to make slurry where baking soda is no more detectable.
6. Apply the repaired product
Now it’s time to apply the product you prepared on your scratch. The steps to apply the product are different for every product.
For acrylic or nail polish, the process is pretty simple. Just apply the product on the scratch and wipe away any excess. The product will dry hard and clear and give the area a polished look.
For cerium oxide, fill the scratch and gently buff it. The drill and rubber polishing wheel would make the buffing much easier.
Keep on filling the product in the scratch and buffing it until the result is clear and smooth. For better results, apply the product on the cloth and then on scratch.
For baking soda and toothpaste, follow the same instructions as that for cerium oxide but even more gentle while buffing.
7. Clean the window
The final step, as everyone knows, is to clean the entire window once the repair is done, wipe away any repair product left on the glass. The result should be clear glass with any scratches left on it.
Step by homemade step remedies to clean the scratch from glass
Sometimes the scratch is less than the width of your fingernail; at that time, these homemade remedies are best to remove scratch in no time; here are three methods to fix the scratch.
Method 1: Polishing with toothpaste
Clean off the glass: wash the glass with a clean cloth so that it is free from any debris or particles. Allow it to dry completely before you start the process.
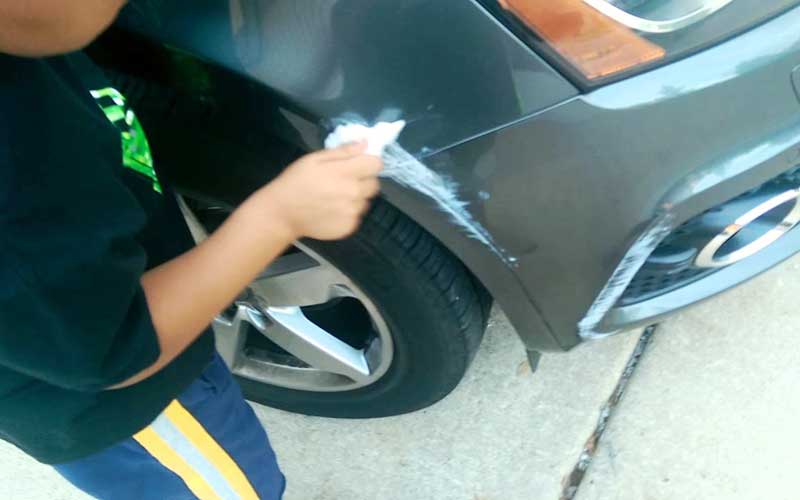
Dampen a microfiber cloth: hold a clean cloth under a tap of lukewarm water, then squeeze it until no moister is left in it.
Squeeze a dot of toothpaste on the piece of cloth: apply a small dot of toothpaste on the cloth. It is important to be cautious about the amount of toothpaste you use. You can always use more later on as you clean the scratch.
Then wipe it on the scratch in a circular motion for about 30 seconds. Repeat the above process until the scratch is gone.
Clean the glass: take a fresh and clean cloth and wet it under a tap of lukewarm water. Squeeze any excess water and then clean the glass with the damp cloth once or twice to get a shine on your glass.
Your glass will be just like new after removing the scratches. Avoid press hard while cleaning or moving in a circular motion, or you can push the toothpaste further into the glass, which will give it an even look.
Method 2: Abrading with baking soda
Clean the glass: Clean the glass with a clean microfiber cloth so there is no debris left on the surface, which can ruin your cleaning. Damp the cloth with lukewarm water and then wash the glass like you usually do.
Mix baking soda and water equally: Take some amount of baking soda and an equal amount of water. Mix them together with a spoon in a bowl to get a slurry mixture. Make sure there are no clumps of baking soda in it.
Pick up the paste with microfiber cloth: Take a clean and fresh cloth, wrap it around your finger, so you don’t get any on your hand, and then press it in the paste, this way you will be able to take a small amount of product.
Rub the paste in circular motion: Place that cloth on the scratch and buff out by moving the cloth in circular motion.
Do this for at least 30 seconds; the scratch will disappear; in case it doesn’t disappear in the first attempt, then you can go for a few more attempts.
Rinse the area: now you can clean the area with a fresh damp cloth, gently press the dampen cloth on the certain area and pass over it, make sure all the baking soda is removed.
Read Also: How To Change Tire On Car
Method 3: Buffing with metal polish
Clean the glass: Clean the area where you have scratches with a clean damp microfiber cloth. Wipe off any debris or dust left on that surface.
Wrap a microfiber cloth around your finger: Always choose the cloth that doesn’t leave any threads on the glass; otherwise, you will have difficulty cleaning it. So microfiber cloth is good; otherwise, the cotton ball is a good option too.
Apply polish to cloth: Dip the cloth in the polish, so it receives a little amount of polish, then rubs the polish onto the scratches in a circular motion for about 30 seconds, makes sure you don’t rush this process and do it gently.
The scratch would lessen or most likely disappear after just one or two steps. Don’t overuse the polish as more amount of polish can cause additional scratches and damage the glass.
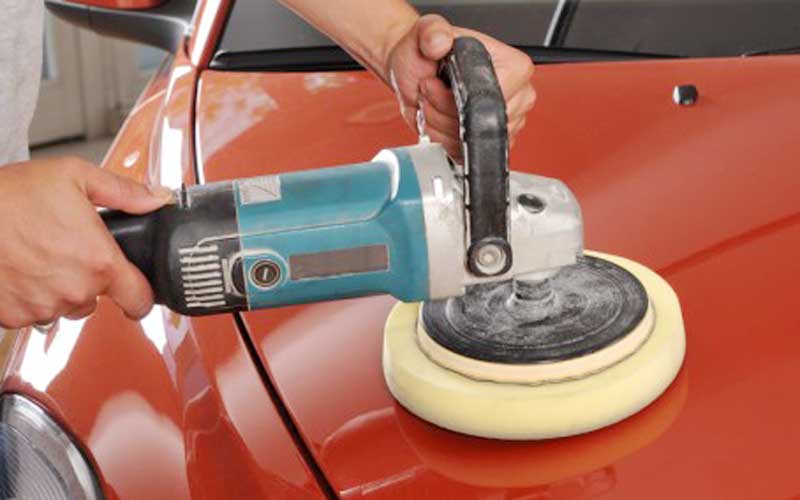
Wash the polish: Clean the area with a clean cloth, dampen it under lukewarm water and squeeze any excess. Wipe it over the polished area to remove extra metal polish. Your glass would look just like new.
Final Thoughts
Many scratches can be treated at home or by Do-it-yourself products, but there are some deep cracks and scratches which cannot be fixed at home, and you need to call a professional in that case.
Above are the home remedies to treat your windshield of the car and also some other glasses at home.
They are very simple, as discussed above, and they don’t require much hard work. All you need is the right supplies and knowledge about cleaning the glass.
Share this content:



Post Comment