How to Fix ABS Light – Step by Step Complete Process
How to Fix ABS Light – Step by Step Complete Process, Nothing testifies for experience as much as self-reliance. If you’re a car enthusiast and want to take your expertise to the next level, it’s a good idea to focus less on the exterior, and more on the interior.
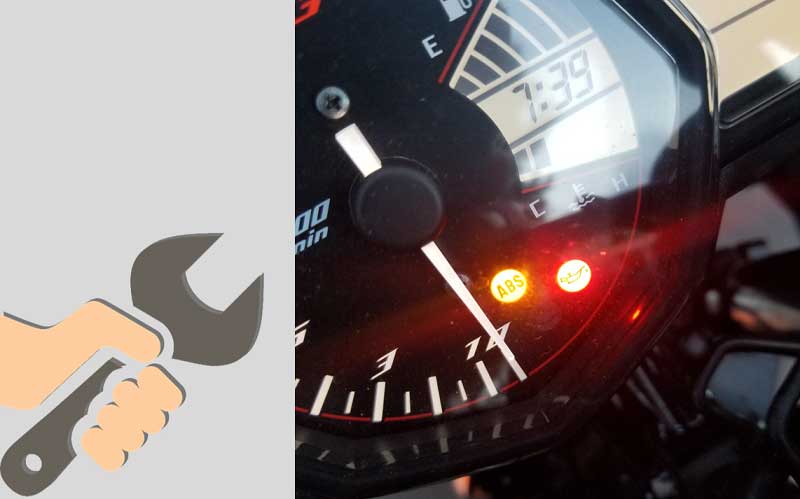
The ABS light is arguably one of the most important parts of your vehicle’s mechanism to keep you safe. With the sole purpose of regulating the direction and steering of a vehicle in extreme braking circumstances, this feature can literally be the difference between life and death.
In this segment, we’ll go about how you can fix the ABS light all by yourself. The most you’ll require is the standard tool kit and the replacement of whatever’s being replaced. Let’s get started!
How to Fix ABS Light – Step by Step complete process – Getting started
When fixing the ABS light, there is a small protocol that you’ll need to follow. Note that this is absolutely important, and is highly recommended for all users.
Park the vehicle on level ground and set the transmission to mark. Set the emergency brakes as well and then proceed to turn the engine.
To get the actual repair work done, you might need to jack the car up to remove the tires or replace the control module. To be on the safe side, it’s best to keep one at hand at all times.
Once done with this, you’ll get into the details of things and then address them more fully. Let’s get started!
Repair codes
When checking to see what exactly is wrong in the engine, there are two ways you can go about the job.
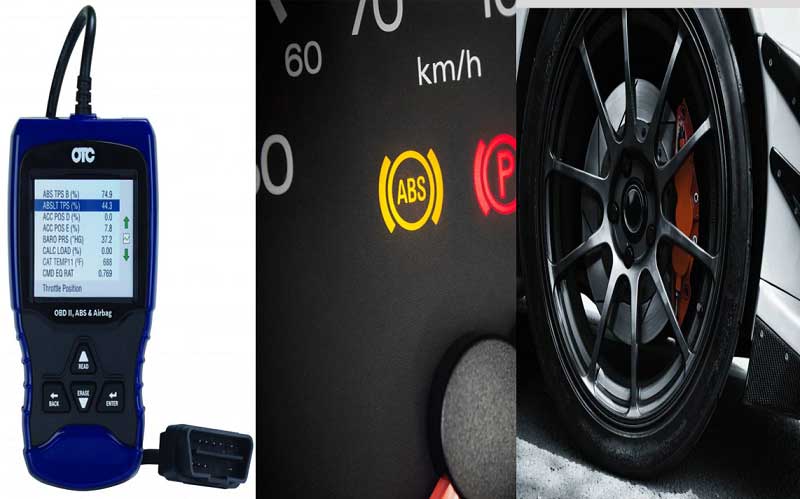
The first one entails you purchasing a code reader that can help you read the ABS codes and simply let you know what’s wrong or needs to be done.
Such readers can be purchased from any dealership or through online retailers.
The second way to check what’s wrong is by going through manual labor. In this segment, this is what we’ll focus on more so that you can have a more hands-on approach to matters and actually settle things once and for all.
Read Also: Symptoms of a Bad Intake Air Temperature Sensor
Repair the ABS fuse
In the bulk of cases out there, the most common culprit of a faulty light is the fuse. Checking for this is pretty elementary and doesn’t really require any technical finesse.
Just like any other electrical system, all you’ll need to do is check the unit and inspect it just like you’d inspect any fuse-based system.
To make that process easier, it’s a good idea to refer to the manual for your vehicle. Not only will it help you locate the intricate machinery behind all of this, but there’s a decent chance it might also address how to get the job done. However, we’ll still run you through the process.
Here’s what you should do!
Read Also: Bank 1 VS Bank 2 Sensor
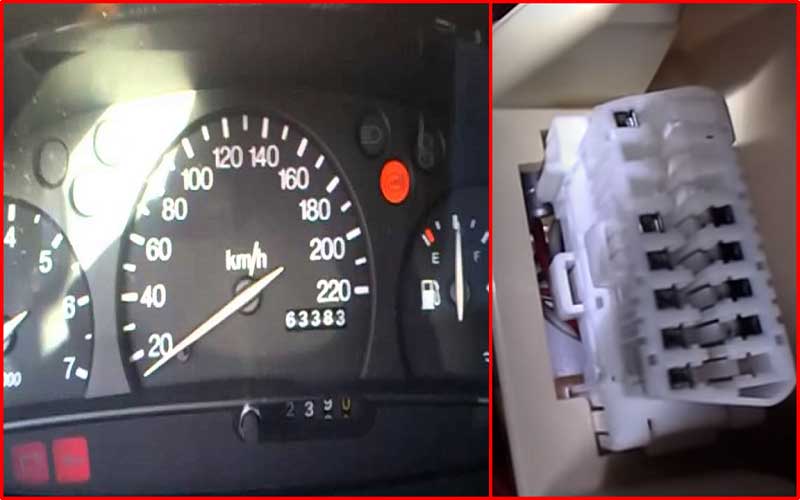
Locate the fuse
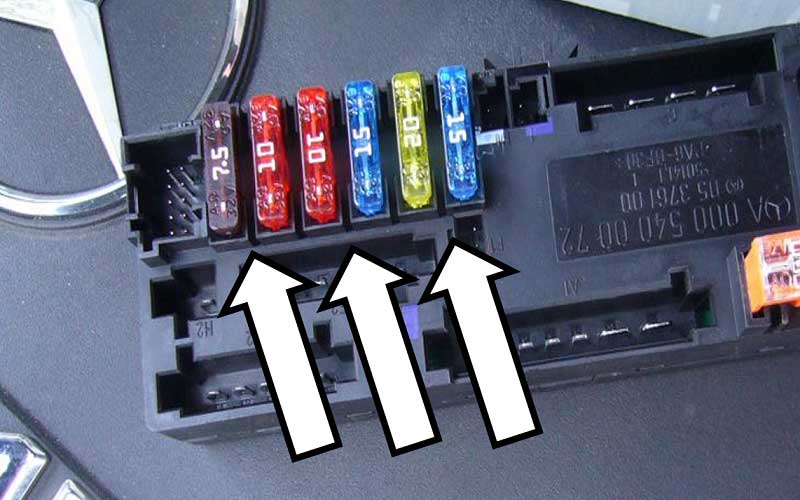
Depending on the model and manufacturer of your vehicle, the fuse panel or power distribution center can be located in one of two places: the dash or under the hood. This is why we recommend going through the manual – it’ll help you locate this in a single step.
Once located, inspect the fuse unit thoroughly for signs of corrosion or rust. Plus, also watch out for loose parts or if it’s melted in places. All these factors point towards one thing – that the fuse is having issues.
Connect the test lights to the ground and then proceed to carry out the test. This will help indicate If the issue is with the power system or not.
Furthermore, you can try to move the fuse a little and check to see if it’s loose. This eliminates all mishaps one by one so that you can better tackle the job.
Next up, note the identification number of the fuse and the amperage utilized. This is noted at the bottom of the fuse panel lid. To make things even more convenient, there’s a “road map” which will help you locate the fuse on the same panel.
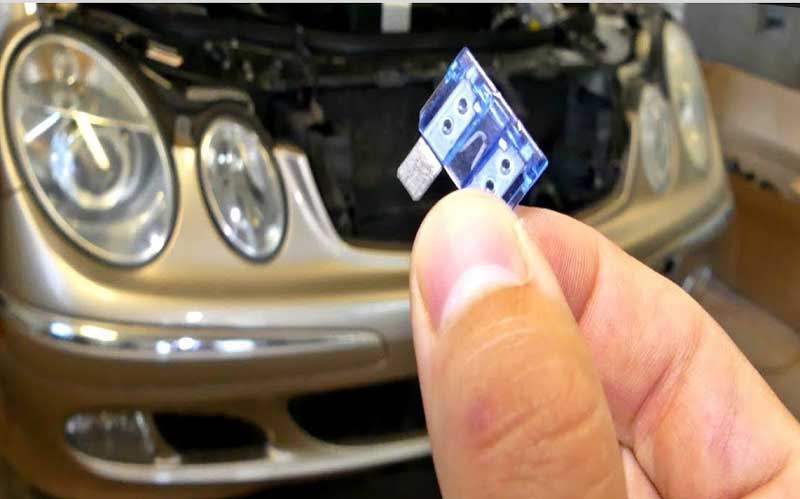
Test/Replace

In the aforementioned text, we’ve addressed the fuse unit as a whole, not the fuse in itself.
Now, since we’re face to face with the intricate machinery, we directly inspect the fuse and see if it’s working or not. If it’s blown, something that you can literally tell by sight, replace it with a new fuse with the same amperage.
Don’t make the error of installing a fuse with more amperage since that can damage the wiring of the components surrounding the fuse.
As a good measure, it’s also smart to inspect the ABS system relay. If it isn’t working properly, you should get it replaced as well.
Check if it works
Once done, seal the unit as you found it or reverse engineer the process.
Turn your vehicle on and see if the issue has been reported or not. If the issues mentioned above were the culprits and were appropriately handled, then these steps will definitely help you out.
Read Also: Best LED Headlights Review & Complete Guide
Fixing the ABS wheel sensor
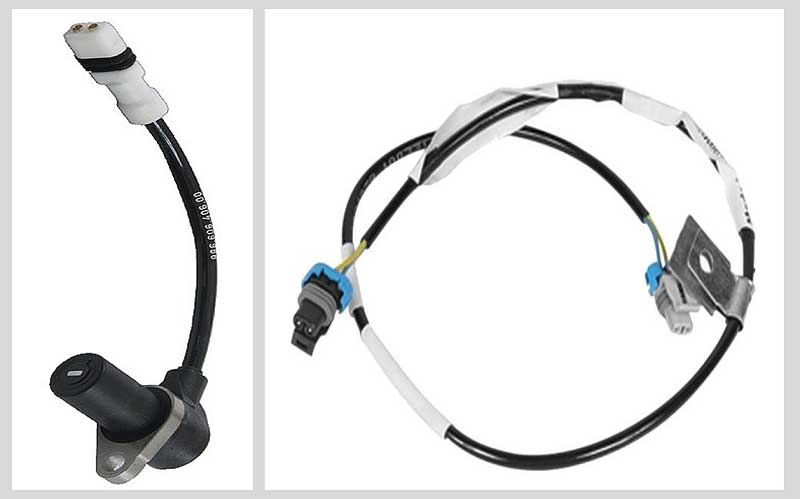
In other cases, the ABS wheel sensor gives in and is the reason behind the faulty ABS light. It’s important to understand that these sensors are in close proximity to the road, and hence are constantly subjected to road conditions and vibrations that can cause them severe damage.
Not surprisingly, do they take a hit? Here’s how you can go about replacing them!
Follow standard protocol
First things first, when working with the ABS wheel sensor, you’ll need to park your vehicle on level ground and put the emergency brakes on.
Next up, turn the engine off and jeep the jackhammer close.
Read Also: Best Mass Air Flow Sensor Review
Identify the speed sensor
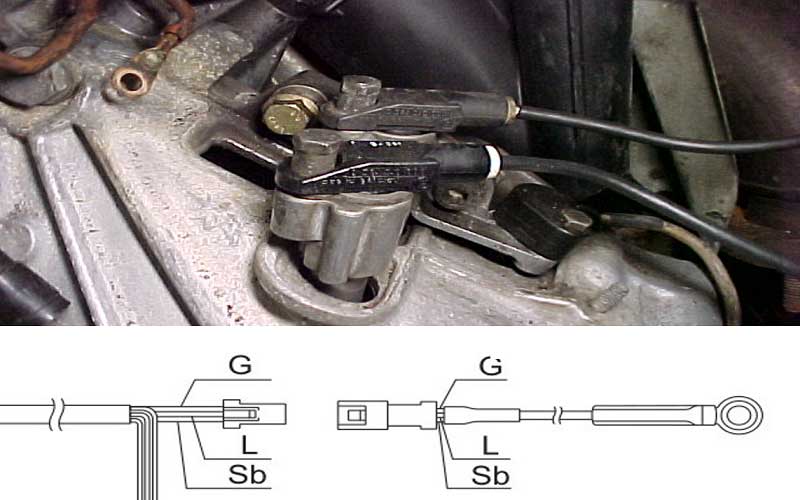
As far as the technical part of the job is concerned, the first thing that you’ll need to do is identify the ABS speed sensor.
To make that process easier, we highly advocate that you look into the guide or manual of the vehicle you’re dealing with. These things are thoroughly addressed in manuals.
Plus, it will also help you acquaint yourself with what’s beforehand, rather than taking chances.
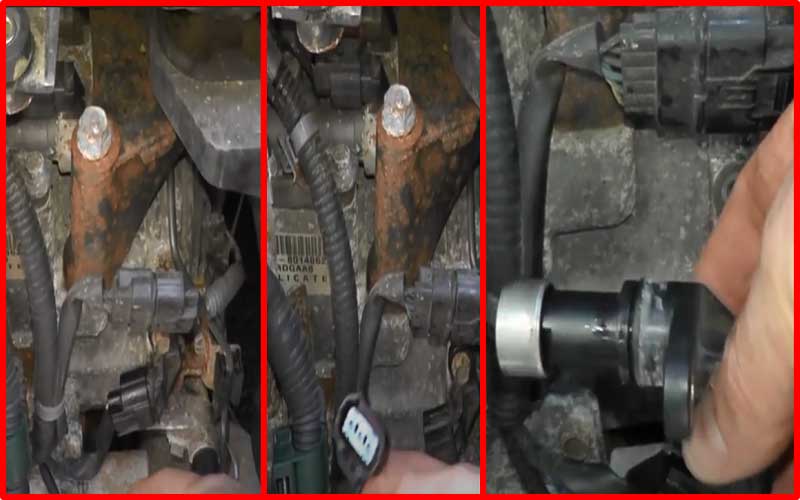
Remove it
Removing the sensor is the toughest and trickiest part of the job. However, if done with care and precision, you won’t have any problem with the job.
The good thing about the sensor is that it disconnects pretty easily without much resistance. To do this, make sure to use a socket or a wrench. Furthermore, make sure that the head sizes are compatible with the job.
Inspect thoroughly
Once removed, the next step is to inspect what is before you thoroughly. The stator ring is always reputed to take the brunt of the damage and hence should be looked into carefully.
Using a flashlight, inspect it while rotating the hub. Make sure to check there is no damage. If you see marks or something similar, get this unit replaced as well.
Read Also: Ceramic Coating for Cars Review and Top 12 Picks
Insert the replacement
Once done, it’s now time to replace the new sensor with the old unit. Install this part thoroughly by using the instruction manual that comes with the model.
The reason that we’re not specifying it here is that each model follows its own steps or processes. Plus, don’t worry. The processes aren’t that hard to keep up with.
Just follow the manual as is and keep the essential tools nearby and you’ll be good to go.
Scanning the sensor
In the above procedure, what we’ve essentially done is that we’ve addressed the job in a very mechanical and manual manner. As mentioned in the beginning, there’s another way to get the job done as well.
If you’ve got a scanner and want to save yourself the trouble, then you can utilize that as well to find out what’s wrong.
Scan the ABS computer initially, and you’ll come across trouble codes. Though the trouble codes are unique, they essentially highlight what is wrong and can help you address the issue directly.
The benefit that this presents is that it saves you the trouble of inspection, and you can get to the job directly without getting your hands dirty in the first step.
If you scan the computer and come across trouble codes like C0035, C0040, C0041, C1226, C1227, C1228, C0051, C1221, C1222, C1223, C1224, C1225, C1233, C1232, C0045, C0046, C0050, C1234, or C1235, then that can point towards one of two things.
The first one indicates that the ABS wheel speed sensor has shorted out and will require an immediate replacement. To tackle this problem, all you need to do is follow the steps mentioned above.
On the other hand, this can also indicate that the sensor is unplugged. This means you don’t really have to go through the nitty-gritty details of settings things right.
Here or there, in some crook or cranny, a wire might have come undone. Just plug it back in place, and you’re good to go!
Final thoughts
We’ve addressed the main ways that you can go about fixing the ABS light. If you have any comments or feedback about our steps or want us to address any other methods or techniques, do share them in the comment section below!
Share this content:


Post Comment