How Often You Should Wax Your Car and How to Wax A Car

A car is the next best thing to own after a house. It gives you a feeling of being complete, and you don’t want one of your best assets looking all beat up.
You really don’t want it to look like you have no care in the world for your car at all. If you want your car to continue to look fresh and appealing, you ought to maintain it.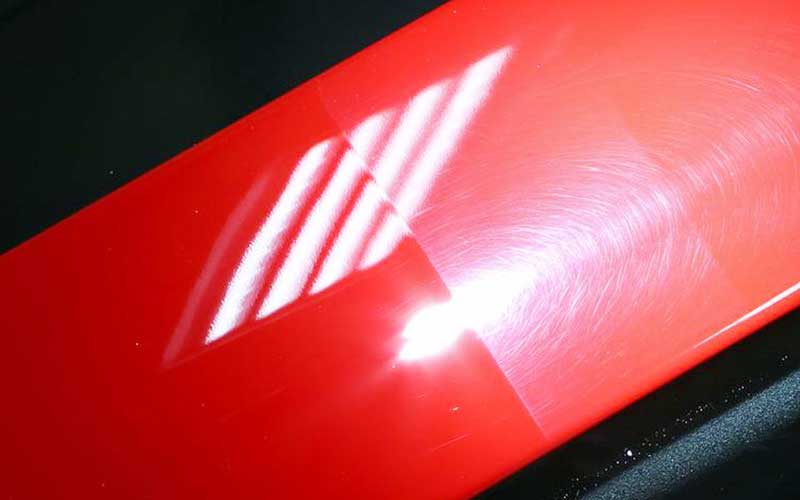
How often should you wax your car
There are certain times you need to get your car waxed, not too many times, and not too little either.
You need to wax your car at least twice a year. Not any less than that. But the very best number of times is four a year, which means once every three months.
According to a myth, you will encounter wax buildup if you wax your car more than the recommended number of times. That is not the case. But it is best if you don’t do that.
How to wax your car
1. Washing
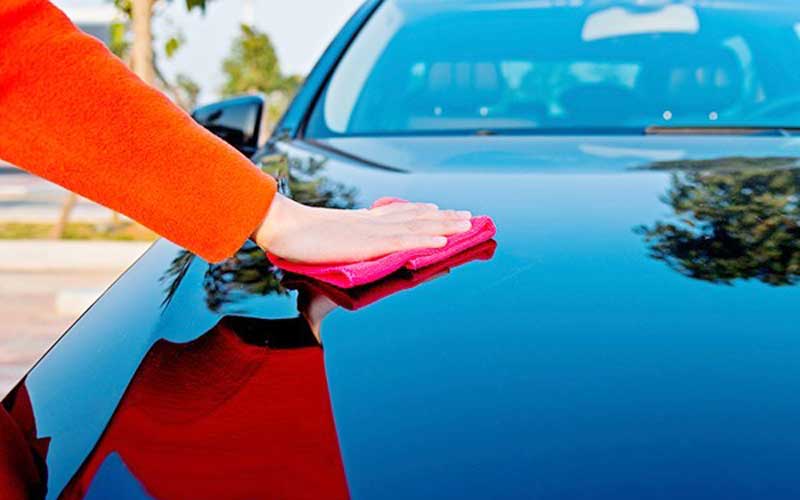
The first step that you need to take to prepare your car for waxing is to clean the surface of your car thoroughly by using soapy water.
Do not make the soap and water mixture too soapy; it should be mild. Remember the fact that wax will only cling to a surface that isn’t rough due to contaminants.
If you allow the wax to cling to a surface that is unclean, then it will not only take more time, the layer of dirt between wax and the surface is not going to let the wax play its part.
2. Polishing compound
If the paint layer of your car is anyhow damaged, scratched, or looks dull, you might want to use polishing or rubbing compound.
They are abrasives. These abrasives will let you even out the topcoat of the car completely. Doing so will expose the underlying pigmented paint evenly.
Rubbing compound is more abrasive than polishing compound, which means that the polishing compound will be more appropriate to be used as a pre-wax treatment.
You need to use a microfiber cloth that has been dipped slightly in water, to rub it all over the car, before and after the treatment with the compound.
3. Maintaining external conditions
You need to make sure that the environment that you are working in neither is too hot, nor too cold. If you wax your car in hot weather, it will keep drying as you keep applying it.
This factor makes the buffing step a lot more difficult. You will also have trouble removing the wax after its application.
However, if the wax is too cold, then your wax is not going to move around as freely, and will not be applied evenly. It will surely leave some blots.
So keep the temperature between 13 and 30 degrees.
4. Picking a spot to wax your car
It is most suitable if you carry out the waxing procedure inside your garage, and nowhere else. Indoors is the best option, mainly due to the temperature issues mentioned above.
Also, when you are indoors, the weather changes like sunlight, or rain will not mess with the wax. The sunlight will heat the car up, and that isn’t good for the car.
Due to sunlight, a waxy residue also builds up in the car, which is quite a job to remove.
If it is possible, try to bring the waxing to your garage. Over here, the temperature is most probably under control, and the weather does not interrupt the performance of the wax either.
If you don’t have a garage, try to work in any kind of shade possible.
5. Choosing the right wax
Usually, products that have the compound called carnauba prove to be the best ones for any car. They might be expensive, but they ensure quality.
If you are using the cleaner wax, you will not have to pay as much as the carnauba wax. But by buying this, you will be compromising the quality.
It will be harsher, and also tends to remove the top, non-pigmented coat of your car. So if you have to use this one, don’t do the polishing step that was mentioned above.
Spray waxes are easier, but their longevity is a downside; they don’t last very long. They will only make it a couple of weeks.
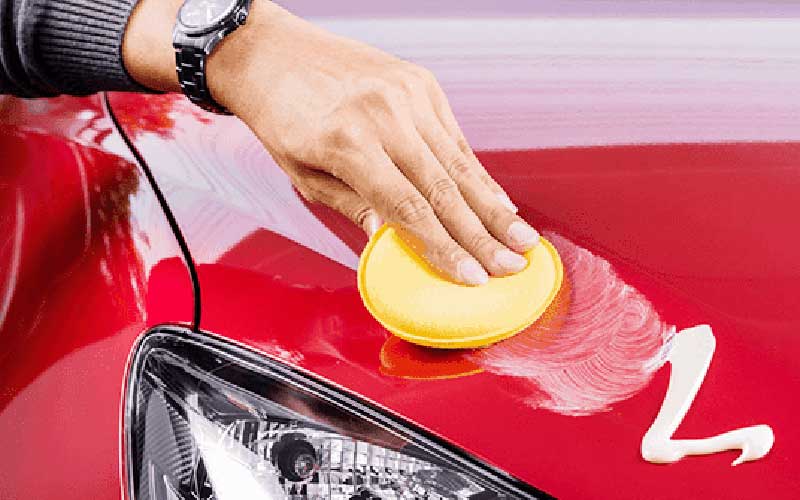
6. Using a foam applicator
You can get a foam applicator from a nearby dollar store and use it in your car. Make sure you only work with 2×2 cm sections at a time.
Do remember to check in with the instruction manual beforehand, for knowing the amount of wax that you are supposed to be using on your car.
Dip the foam into the wax. Do not make the mistake of using too much wax. Using less wax is better than using too much. At least it will bond with the car. Avoid buildup by avoiding more wax.
You can also use a damp sponge in the place of an applicator.
7. Applying wax on smaller sections
As has been mentioned earlier, you are supposed to wax in small portions at a time. Use circular motions to do so. Wax one portion after the other.
Use overlapping strokes that are gentle; they will be perfect.
8. Buffing
This is an optional step.
You can use a buffer on the surface of the car for it to smooth out whatever is uneven. The buffer should be set at a lower speed. You can apply wax to the car or onto the buffing pad.
Read Also: What Causes Tire Cupping
9. Waiting
At this point, you will have to wait and let the wax sit according to the manufacturer’s instructions. You will have to wait for it to dry before peeling it off.
One way to check if the wax is ready to peel is to run your finger across the surface. If the wax smudges, you need to wait. If it does not, you can take it off.
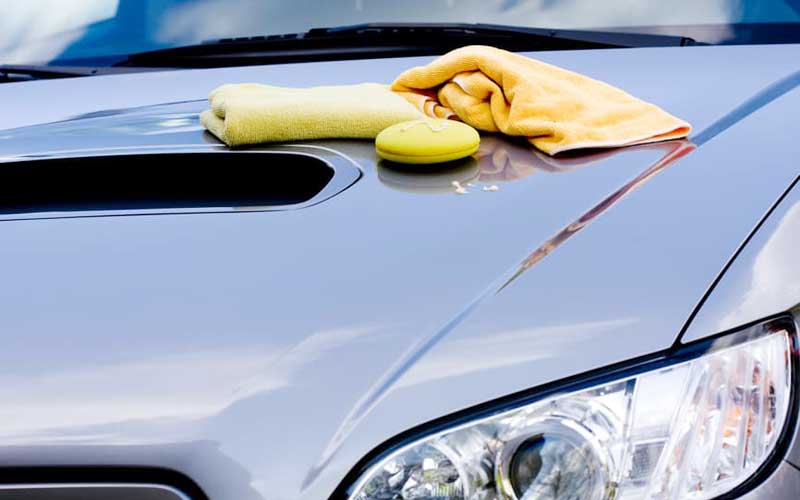
10. Using the microfiber cloth
Now, you are going to use a microfiber cloth for removing the wax. Make sure you do that in circular motions.
If your cloth has started dragging, it tells that there is enough buildup on it for you to flip it to the other side and start using it now.
After flipping the cloth, continue to wipe in the same circular motions.
11. Polishing the car
You need to continue to polish the car if you want it to have that glossy end to it. There you have it; you are almost done with the waxing of your car!
Wipe any excess wax if you find it.
12. Deciding the mix
Every car has its own kind of mix that is meant specifically for it. You may use the detergent from your kitchen on it, but that will not have any part to play in the preservation of your car wax.
If you use the wash that is meant for being used right before waxing, you will be able to maintain the look of your wax for a longer period of time.
13. Double waxing
Sometimes, you can also double wax if you want the best results. But for that, you need a certain level of a skilled and steady hand.
If you want your car to be double waxed, it is best for you to take it to a professional. Repeat the steps that have been mentioned earlier the second time for a double wax.
Read Also: How To Change Tire On Car
14. Elimination of streaks
After the removal of wax, the streaks are supposed to disappear. However, sometimes you will experience streaks even after you are done with all the waxing and stuff.
One tip to help with it is pouring distilled water in a spray bottle. Take a tablespoon of rubbing alcohol and mix it inside the bottle.
Spray the car with this solution wherever you find that the streaks are more apparent. Take a microfiber cloth and wipe the solution with it.
Additional tips
All that concludes the process of your waxing. However, there are a few things that you have to keep in mind.
Your wax can last longer or shorter than the length that the manufacturer has suggested to you.
Every car differs from the others, so you cannot say for sure when you need to renew the coat done on your car.
Sometimes, the manufacturers will urge you to put more wax because they want you to use more product. So it is appropriate to use less than the suggested amount.
Do not, at any cost, wax a car with a matte surface. Don’t use any shine agents in the car.
Conclusion
Here was the complete guide of everything that you need to know and follow while you are planning to wax your car. You can do it yourself, all it takes is a little willpower!
Share this content:


Post Comment